Here I’ll show you step by step guides of what you will need to create a printing plate, as well as setting it up, transferring your drawing and finally, getting your “embossed” print.
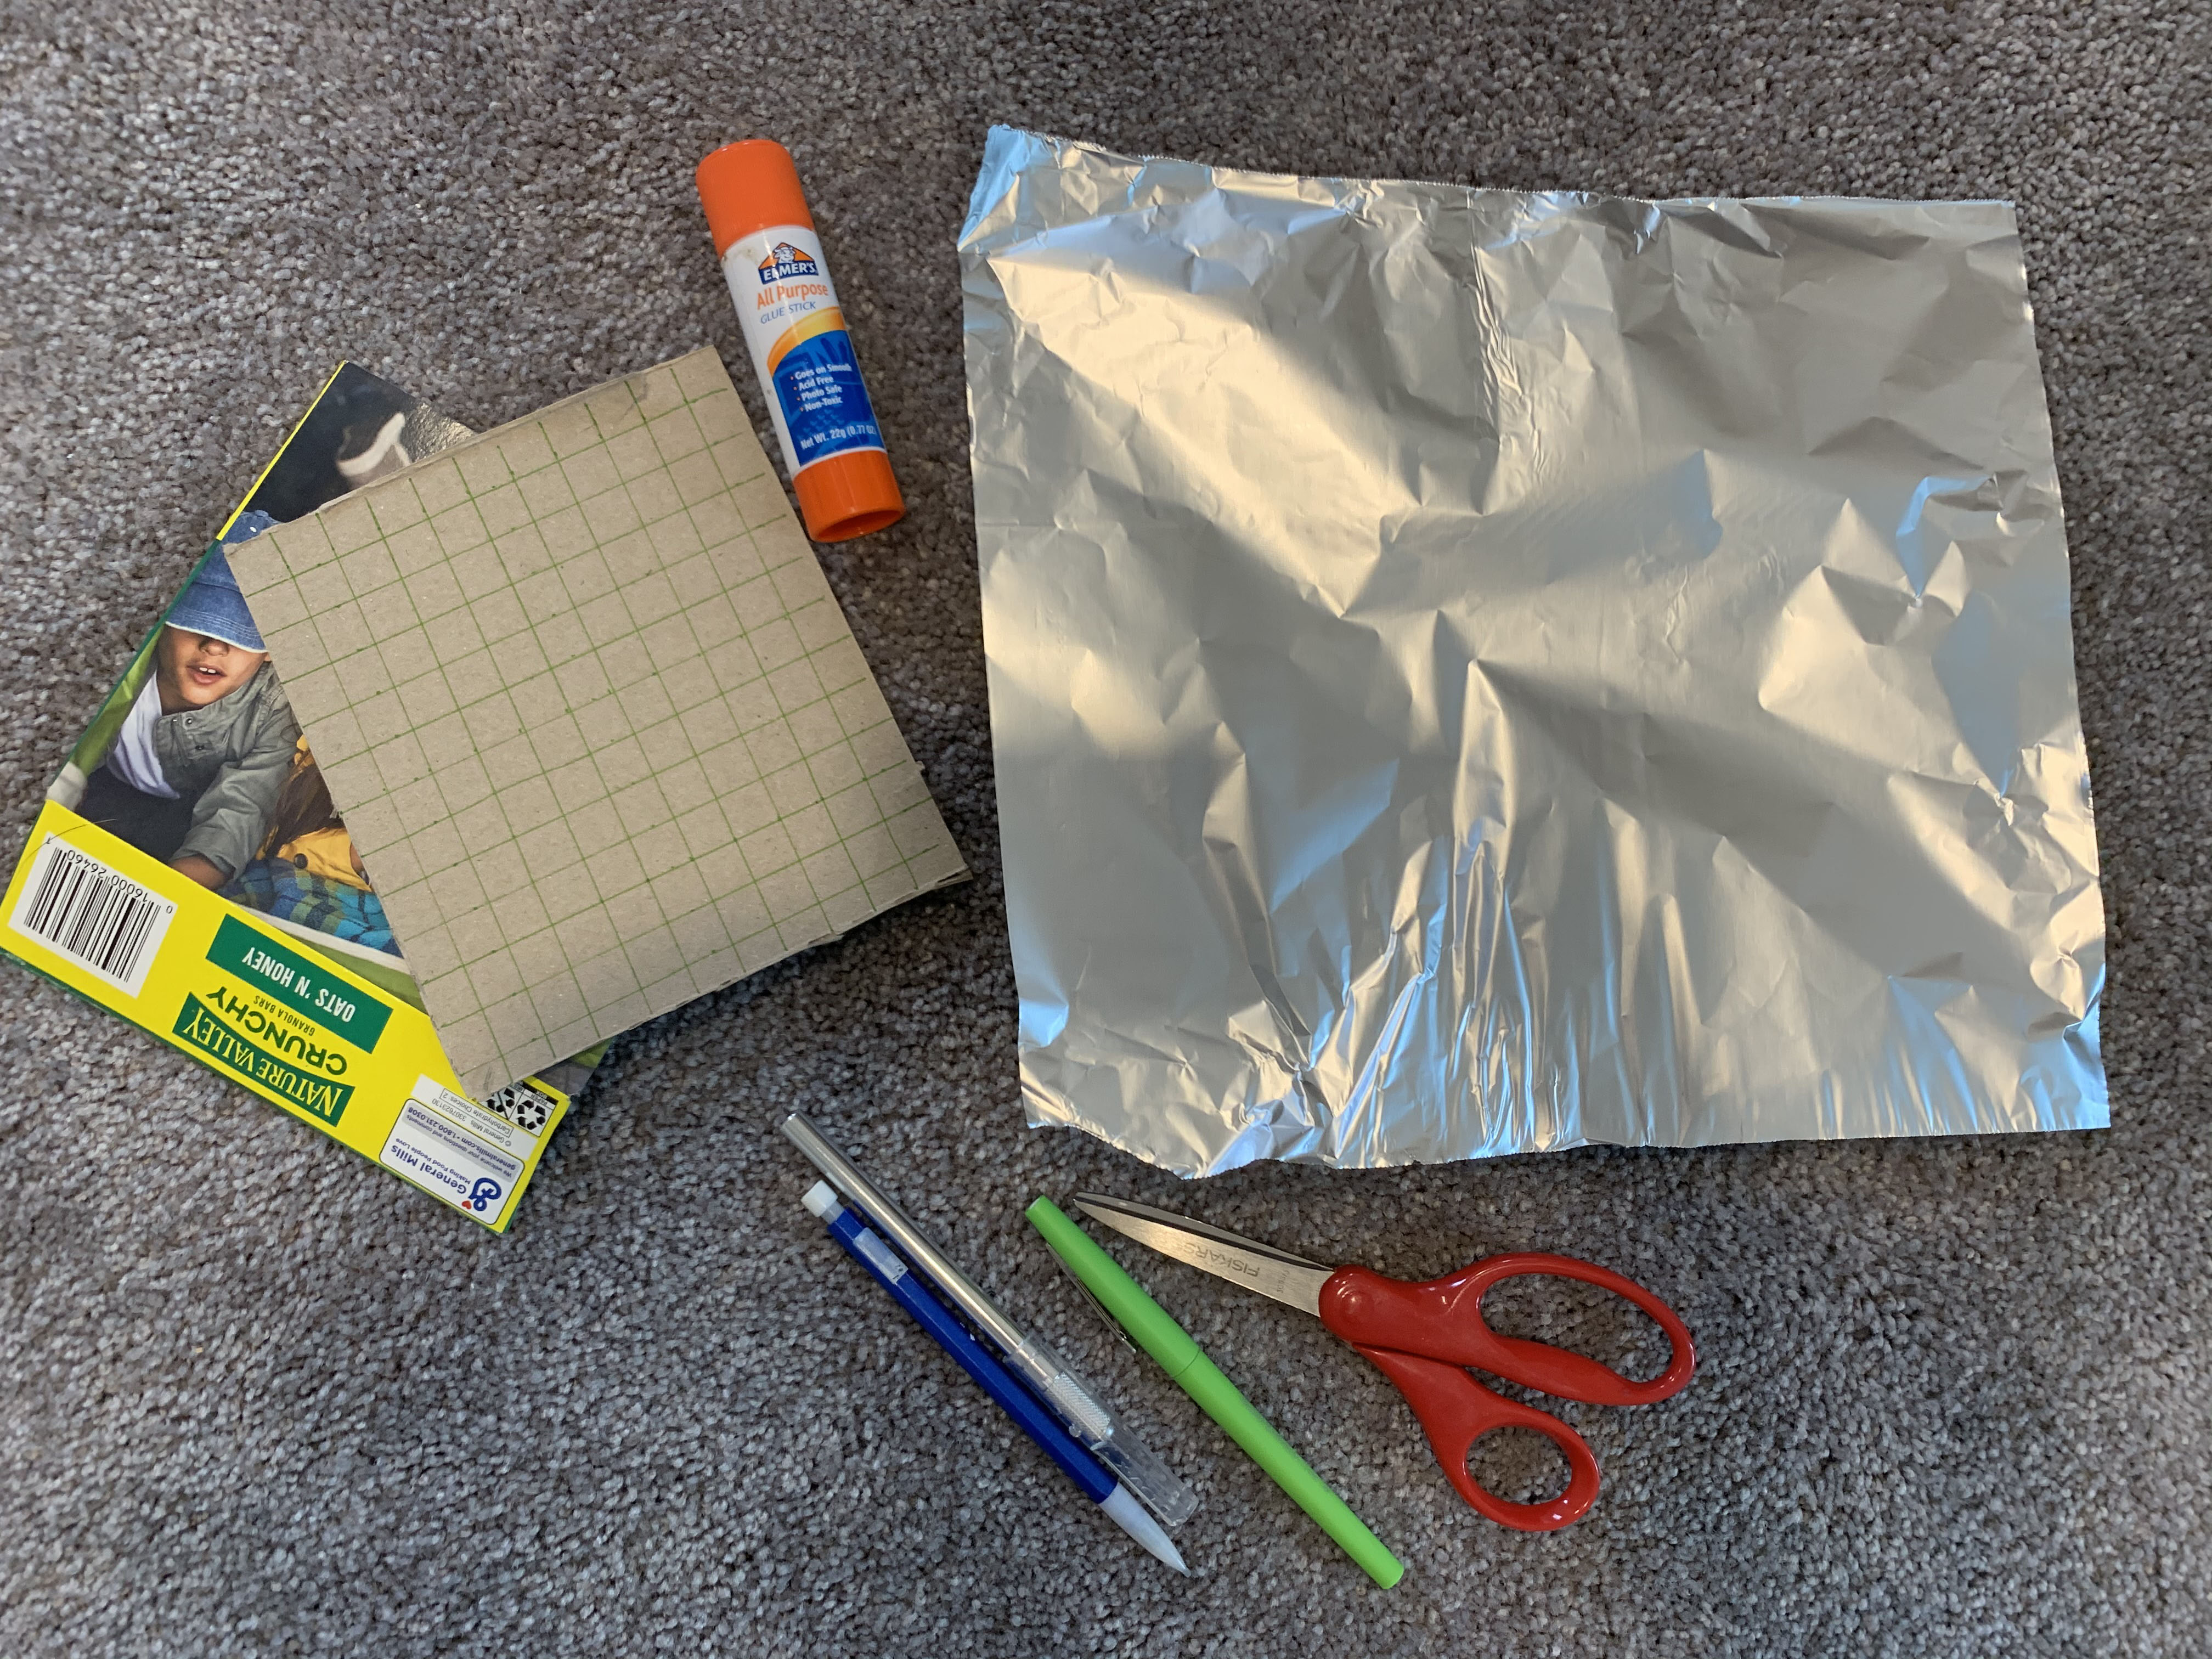
In this image you’ll see I have an empty granola bar box, but any similar type would work, some aluminum foil, a glue stick (apparently I don’t have a glue gun, or Elmers glue here at home…), some scissors, a ruler (not shown), pencil, and Xacto (preference for cutting is up to you).
First cut open the box as shown & create your grid
Then begin cutting out your images for your pattern. As I mentioned silhouettes work best.
Once you’ve cut out the images for your pattern you’ll need to lay everything out & begin gluing it down. From there, you can make a print. You can either cut your shape out before or after you pull the print. I chose after because I wanted to make sure I liked how the print looked first. Be careful when you are flattening the metal around the plate as fingernails will leave a mark, I was just using the flat side of my hand or fingers.
Once you have that completed, you can either print & glue your design (on the back) and cut out with scissors, or draw your design on the back using a permanent marker, be careful if drawing not to press too hard as it will leave an impression on your metal.
