First step is to create your own scratch paper. Here are the materials you will need.

For the two samples I made, I did one with crayons on paper with acrylic paint, the second was with oil pastels, acrylic paint, on the inside of a cereal box. The design you color does not matter, nor does the colors you chose. I did cool colors for one & a rainbow for the other. *note* tempera paint will also work (more than likely better than acrylic) but I only had acrylic at home. House paint could potentially work as well. Use what you have!
Next-color hard & fill the entire page. Leave no areas of white.
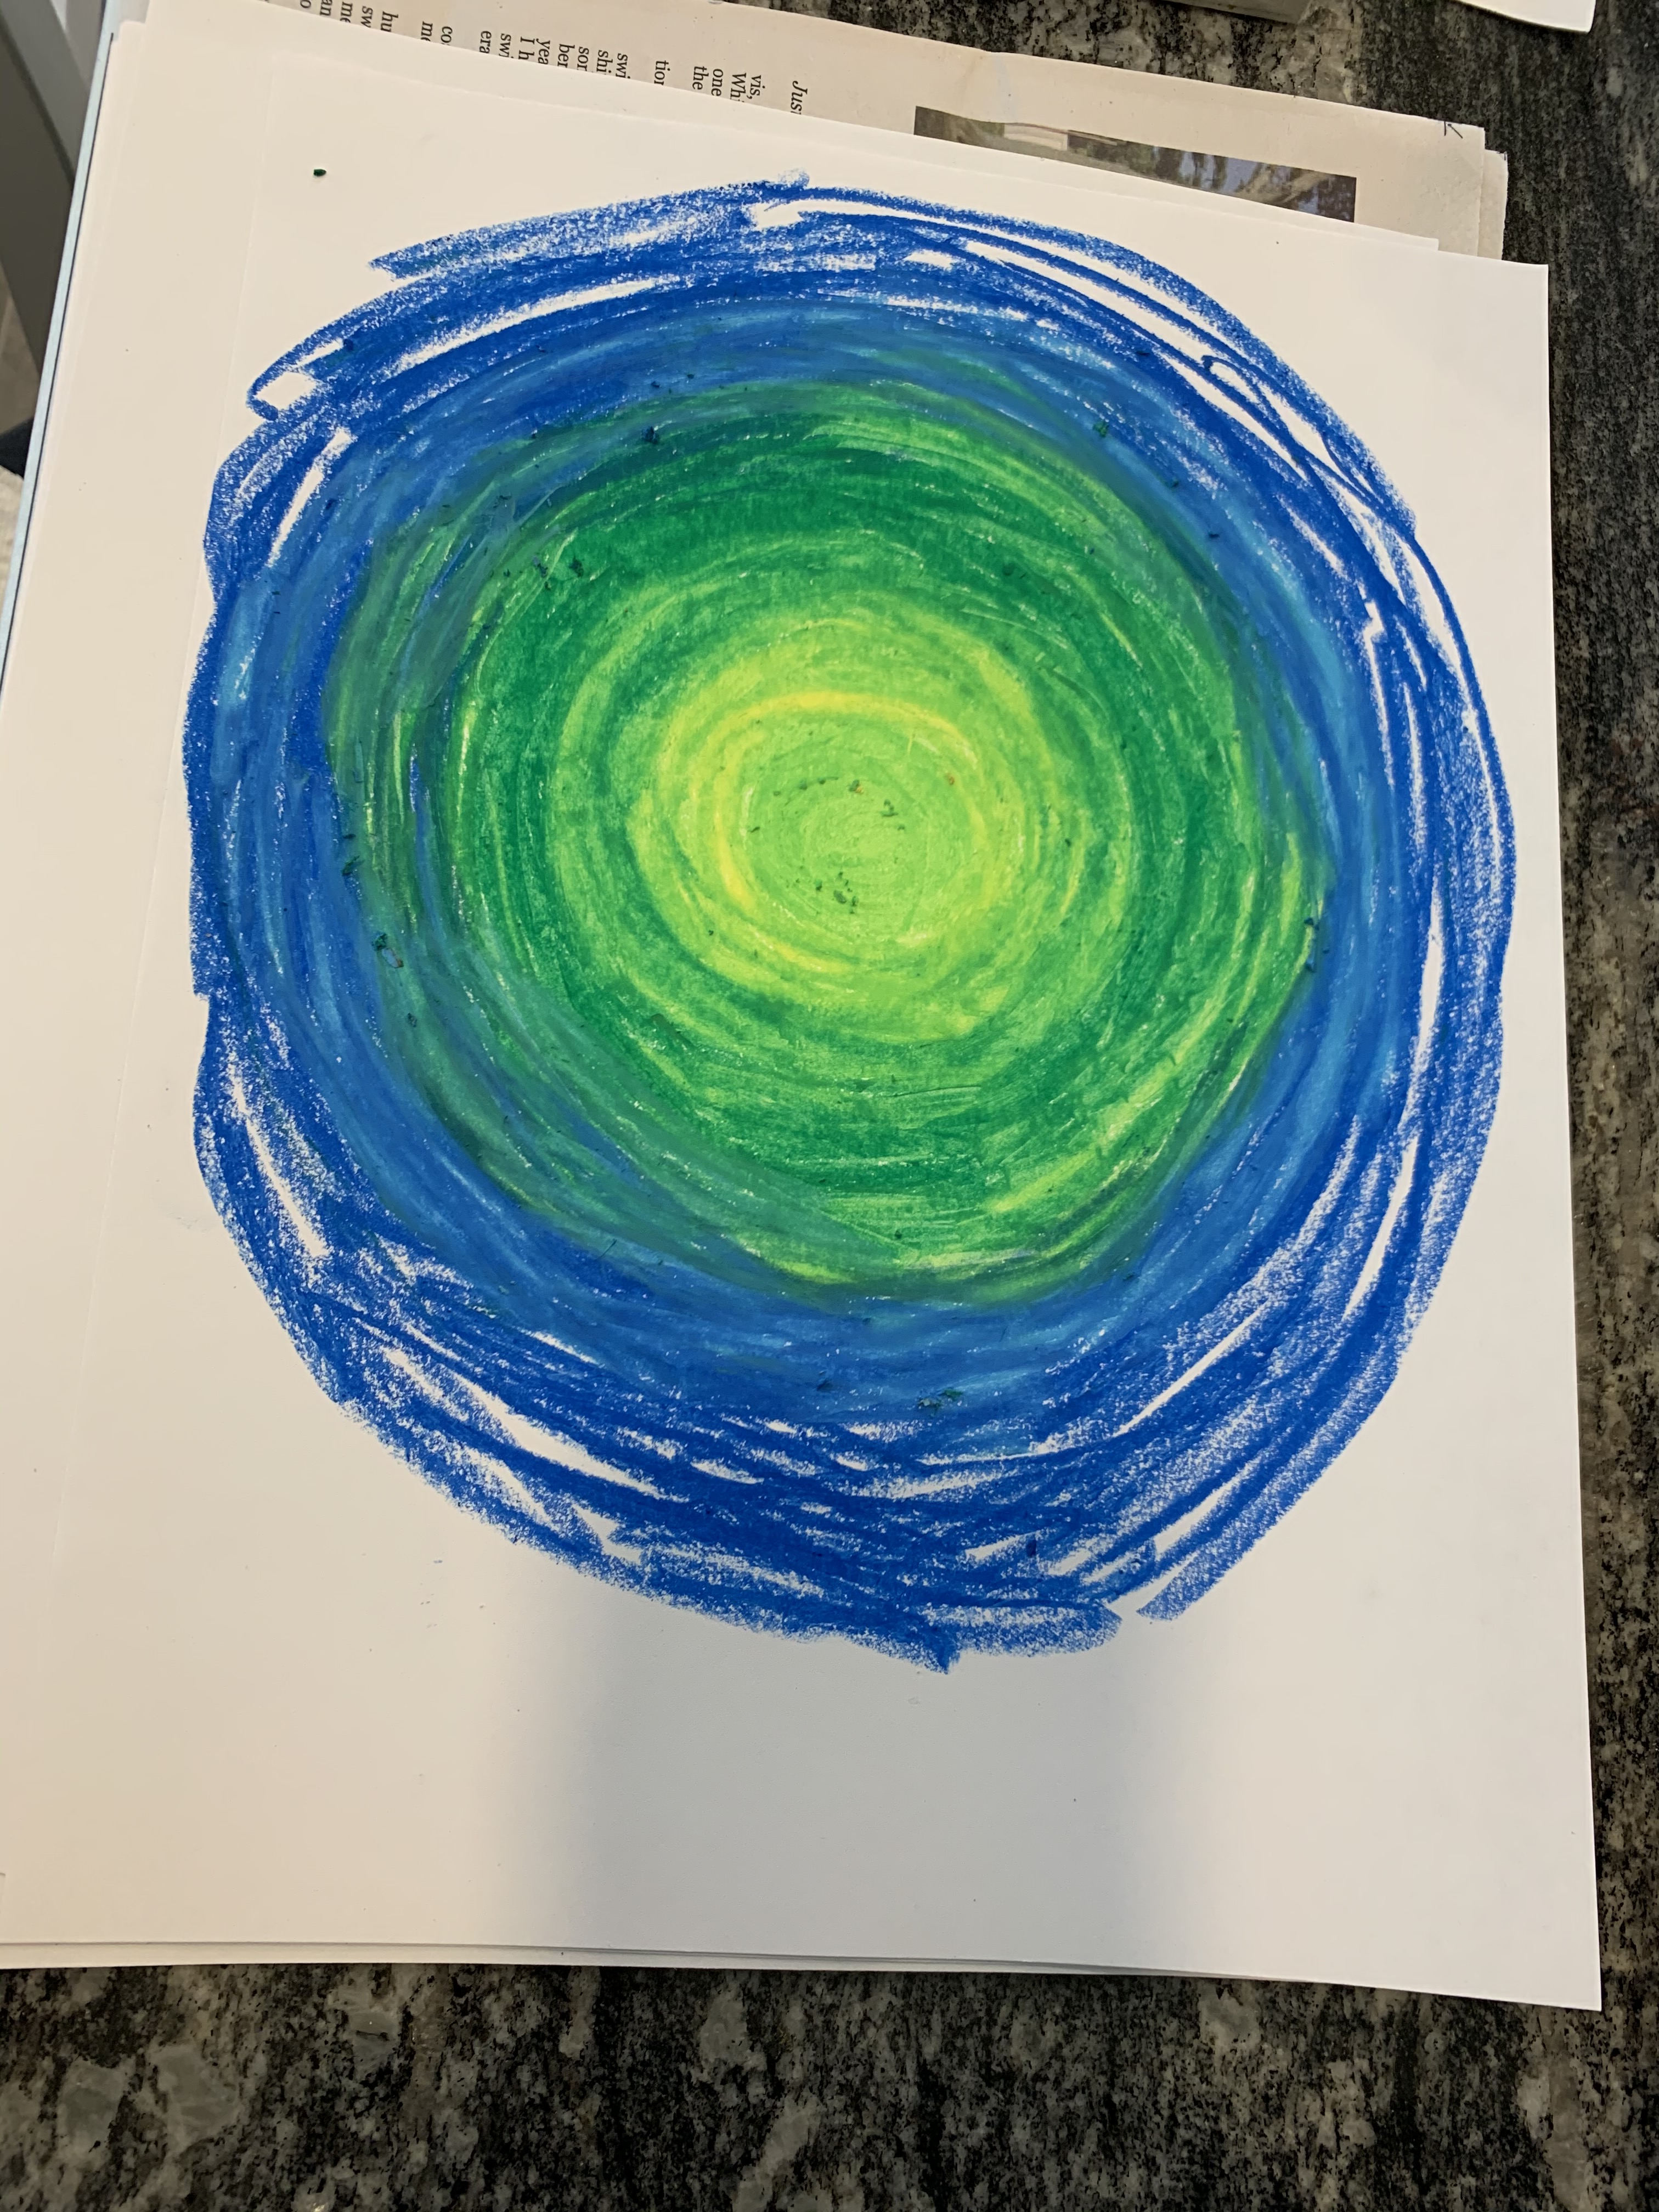

(these images show coloring in progress)

finished page
Next, you will paint the entire page (or box or whatever surface you are using) with paint. Again-color is up to you, whatever will work best for your project idea. I chose white for one & a black & white blend for the other, leaving the mixed areas rough as I wanted it to look like feathers.
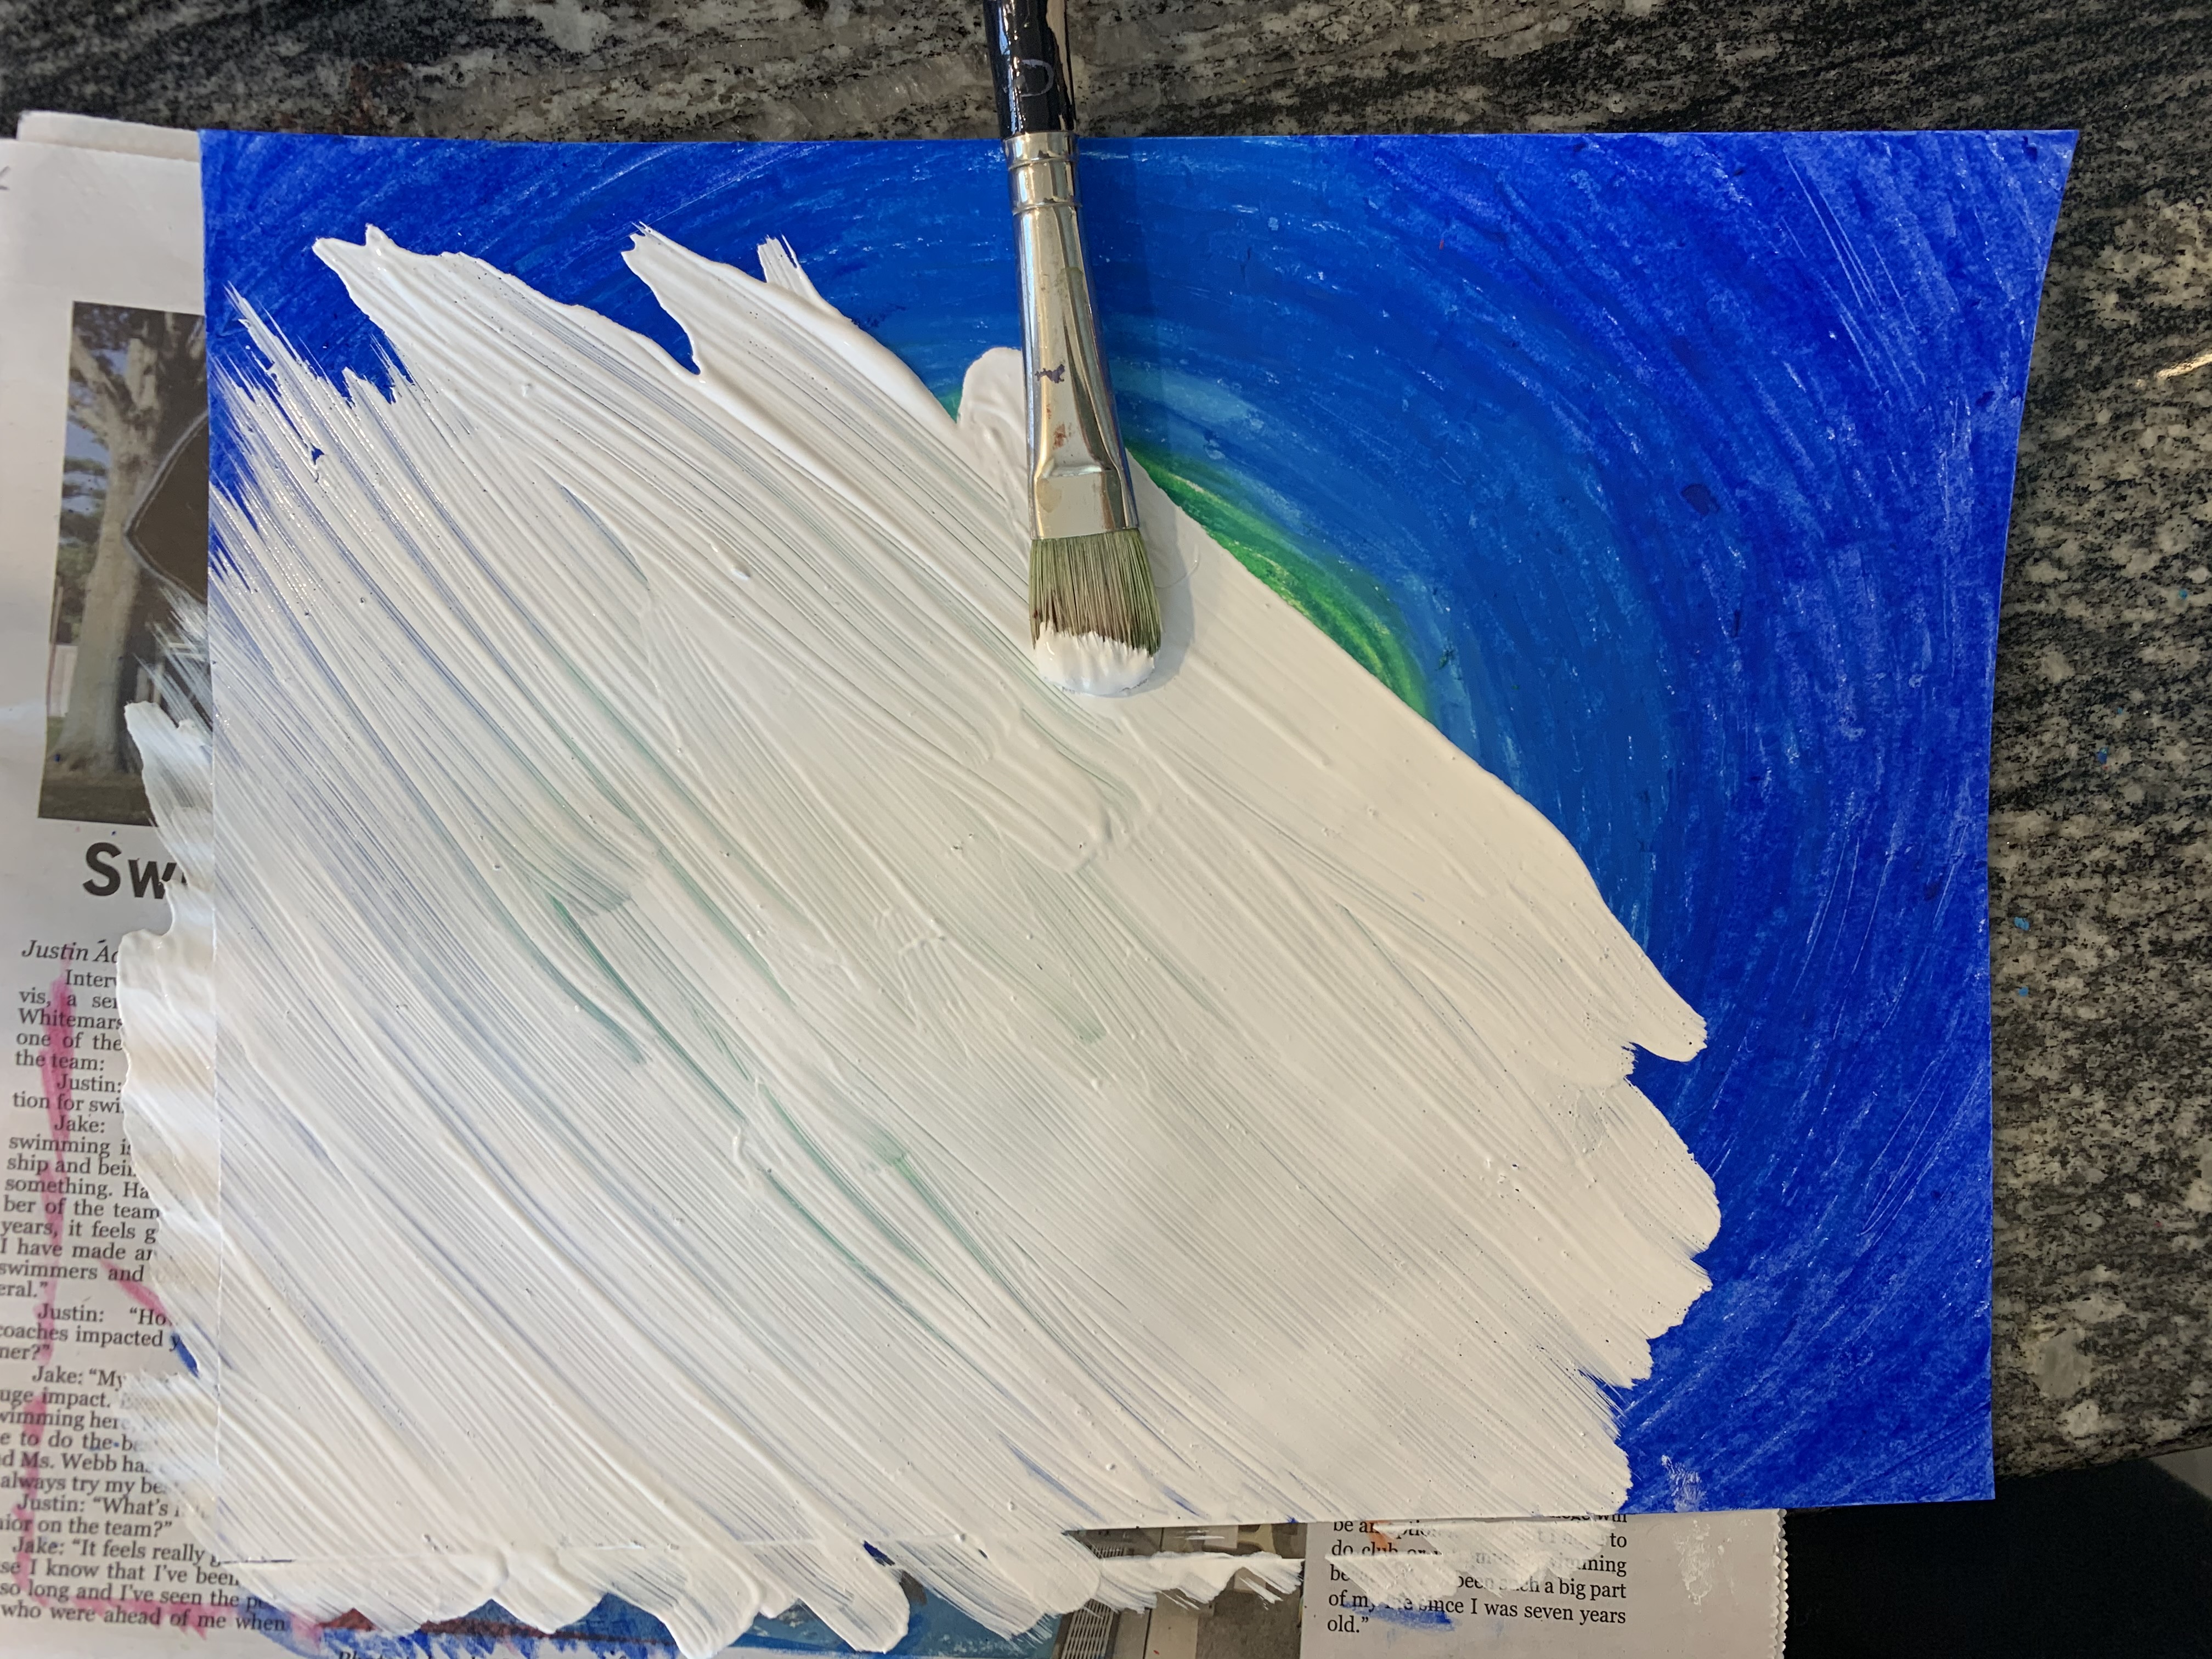
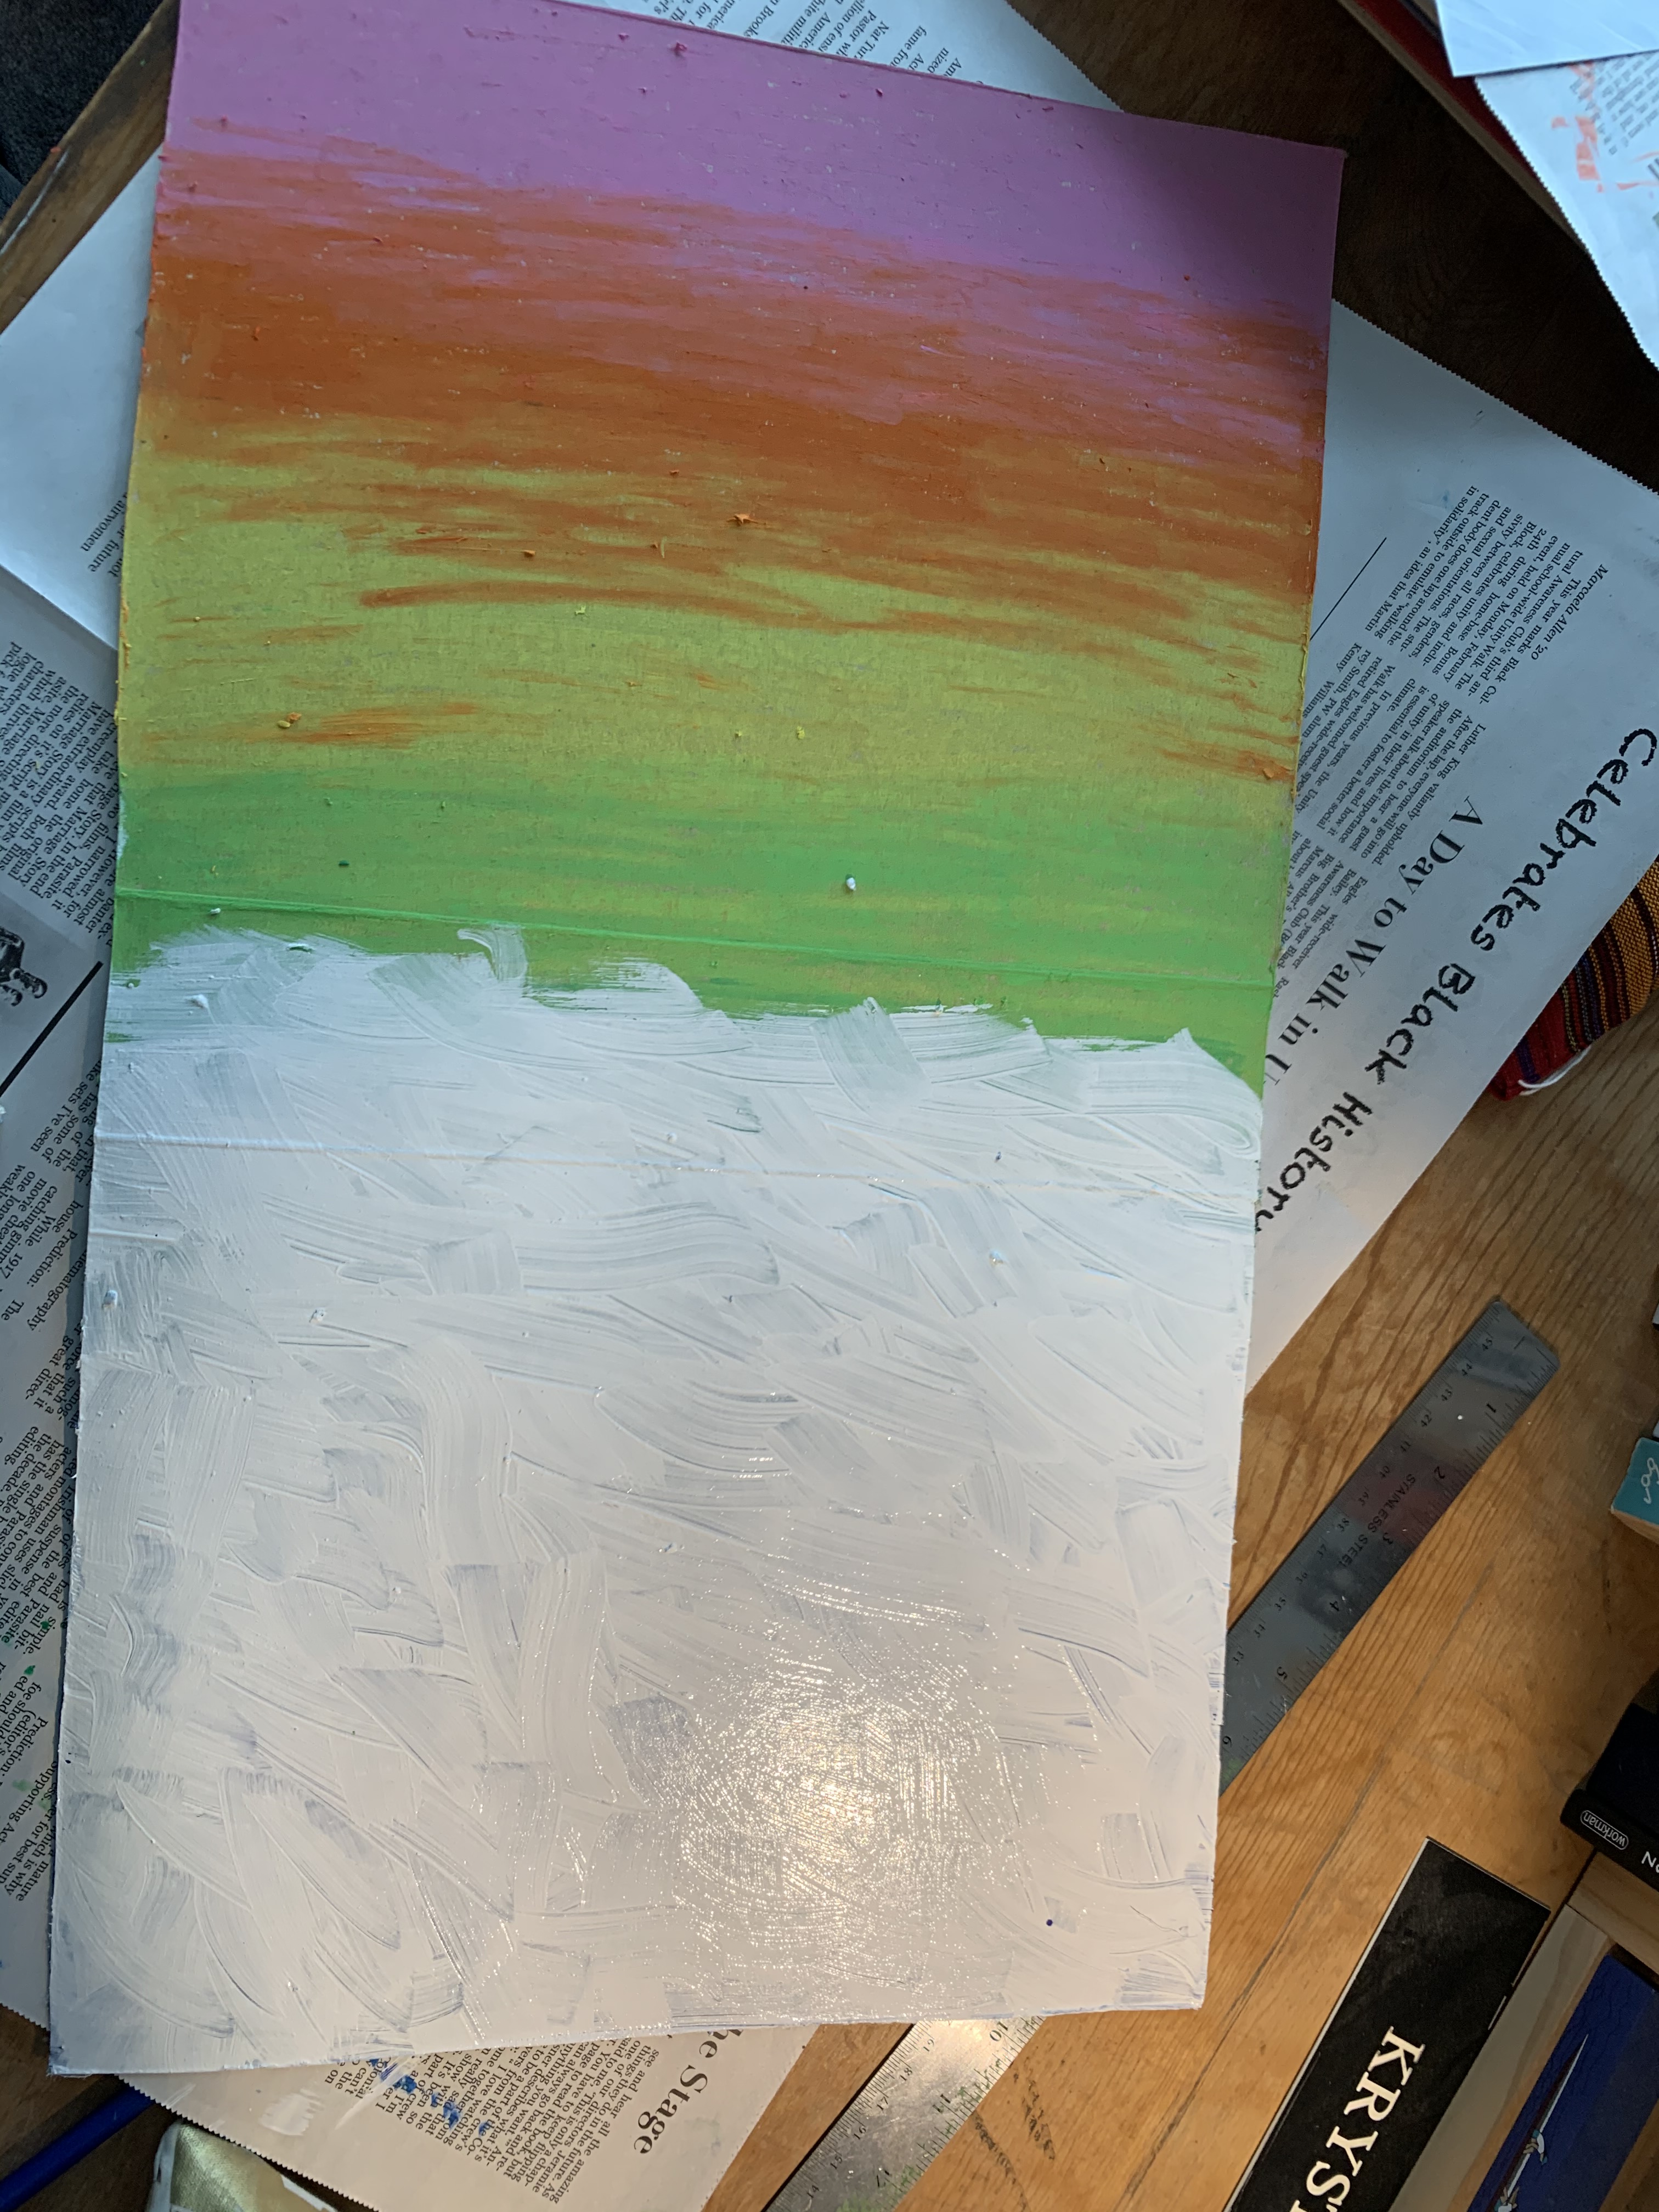
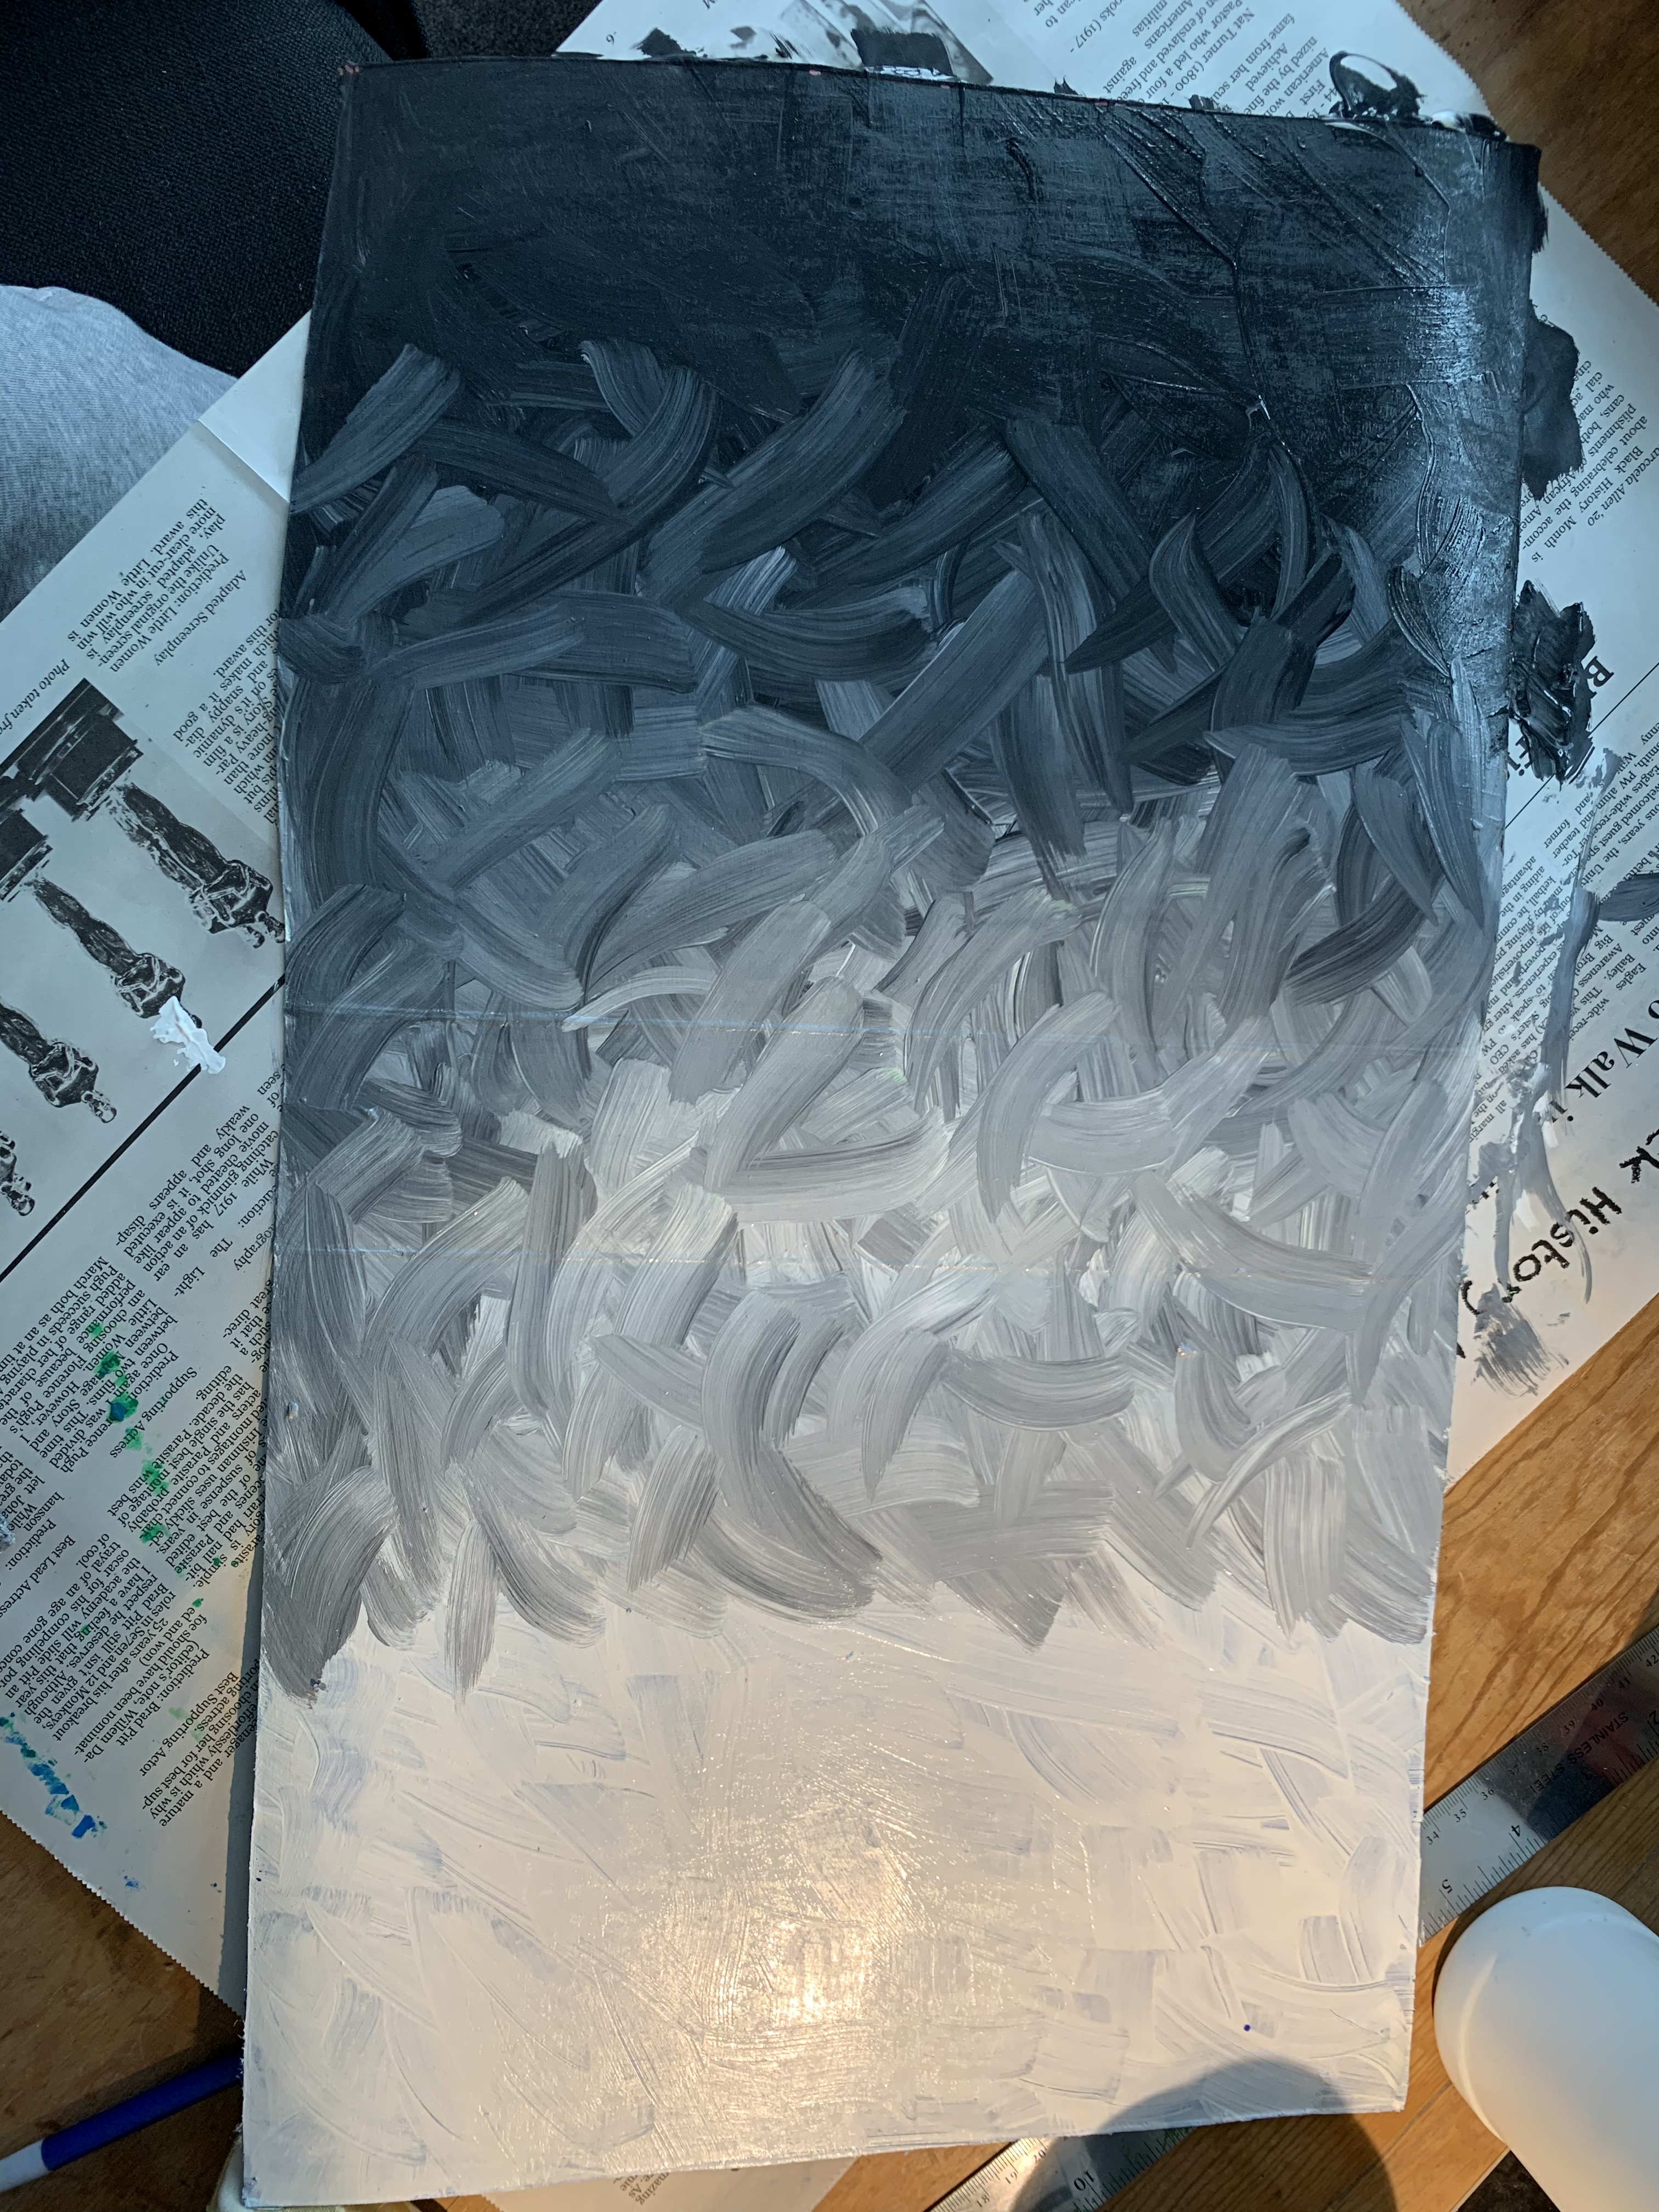 Again, tempera would probably work better as acrylic is almost like a plastic & peels off very unevenly once you start to carve into it.
After the paint is dry, you will want to transfer & carve your design. You can either free draw it on there (but don’t mess up, because there is no erase) or you can transfer your design by tracing over it holding it on top of your piece. You want to carve before you assemble because it is easier to carve on a flat surface. If this were clay, you could carve either before or after-clay is a little more forgiving and it is easier to support the inside.
***IF you don’t have any paint, here’s some guides on how to make paint***
The first one uses Chalk


If none of those work for you, you can also use cardboard (see below video)
