For the second and final part of creating your sgraffito project, you will take your scratched designs and turn them into a form. You can do this in a multitude of ways, many of which will be listed here for you to reference & try out.
Making an armature with newspaper, or kraft paper (often comes in boxes for padding):
Getting the scratch paper ready to cut:
Adding your elements from your carvings onto your armature:
Attaching extra pieces to your form:


If, for example, you were to create a bowl or cup, you could cut the page and create folds like these videos:
Though this video works directly with clay, the same techniques can be applied from your cereal box templates:
Cone forms:
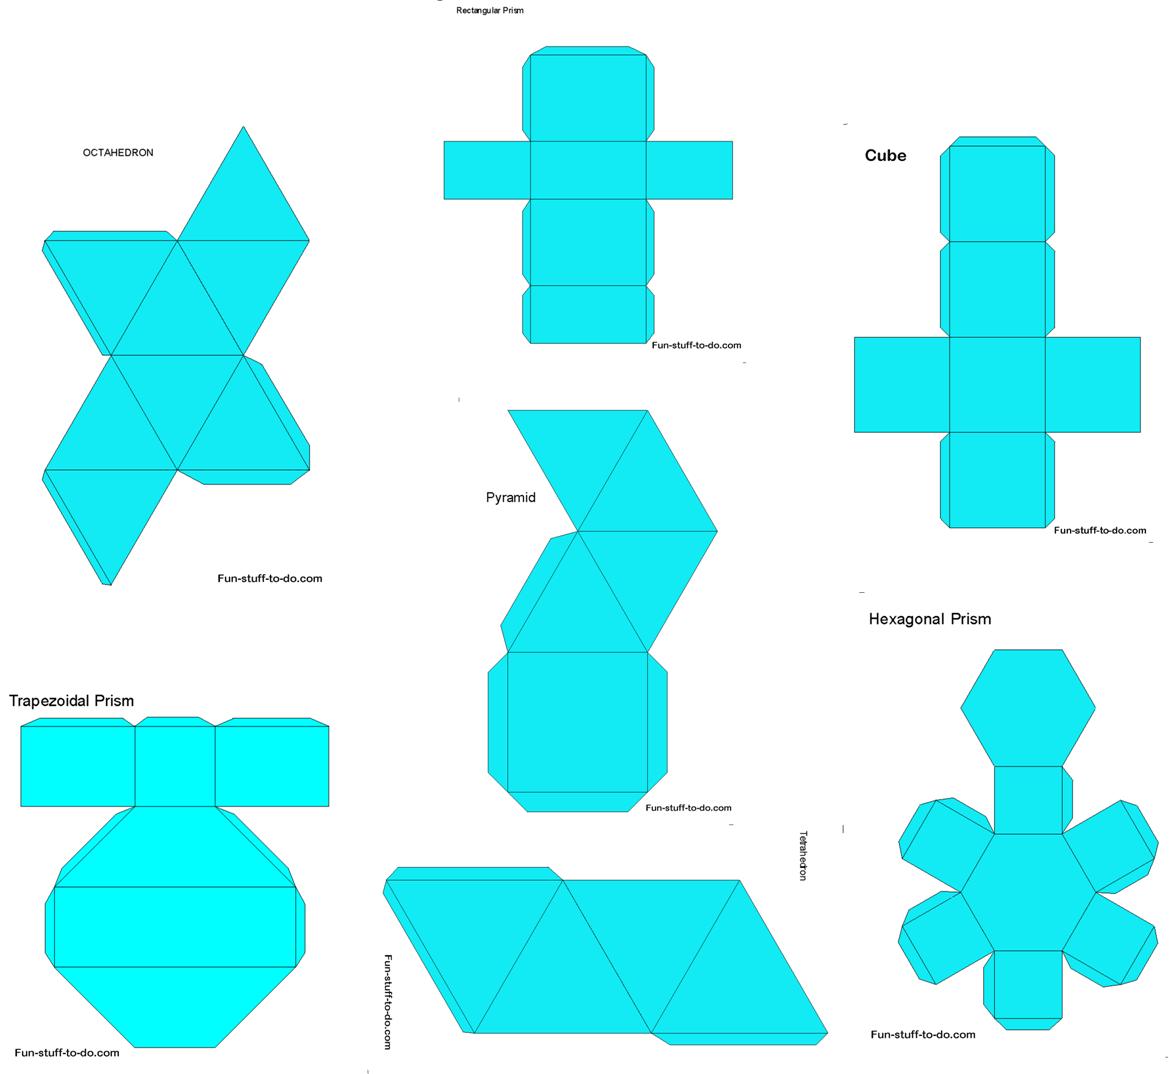
For a hexagonal shape: Hexagon form
Or, if you wanted more complicated folds-check out this link: From flat to curved geometries it has a lot of detail, but also some nice visuals for various techniques
Here’s some samples as to taking paper & giving it three-dimensionality: exploring paper, Basic 3D forms, triangles
Making an armature with cardboard:
For her armature she used wire to connect & styrofoam to give it more depth, this is not necessary, as you can connect everything with cardboard. For those of you who used cardboard to carve your designs, this might be a good idea to help build a 3-dimensional form but with a two dimensional product that is a little harder to bend.
