For your first at home project, you will be making your own tools to use in the classroom for your projects.
Look over the attached links, see what tools/materials you have at home & make the best that you can with what you have.
Tools to aim for:
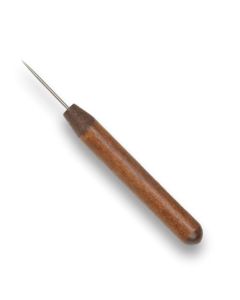
- a needle tool (you can even use a straightened out paper clip for this purpose)
- a fettling knife or something to cut the clay with
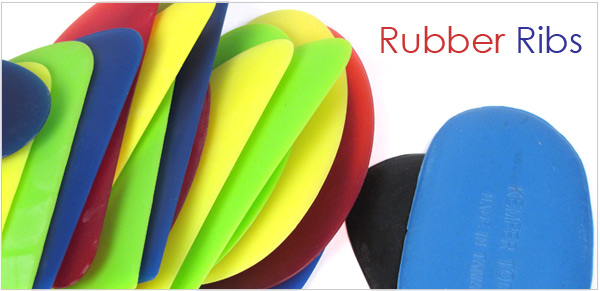
- a rib for smoothing
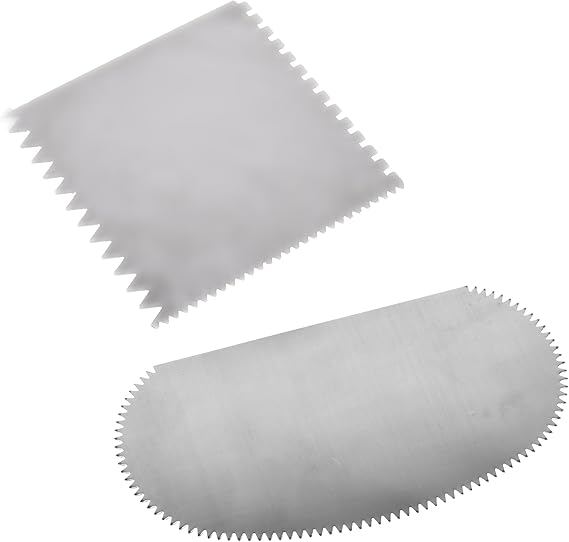
- a serrated rib for scoring (can use an old credit card even)
- a sponge (a wet rag will also work)
- a ribbon tool (anything with a loop at the end will work)
Storing Clay at Home while drying
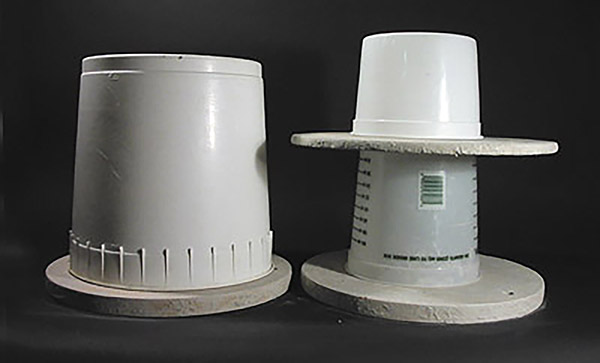
Clay likes to be dried slowly to avoid the most cracking or warping-it’s best to keep/store your clay in a cool damp area (basements work well for this), you can use a wet cloth to cover your work when plastic is unavailable, or the link above by just inverting a bucket over your work and you can wrap the base with a wet rag, or plastic while working, then just the bucket as you finish to slowly dry the work out. Keep in mind, clay is very fragile once it dries!
